Flat Out Fast 2D Laser Cutting Prototypes
Why 2D Laser Cutting Prototypes Are the Fastest Path from CAD to Part
2D laser cutting prototypes are flat parts cut from sheet material using a CNC-guided laser beam, and they are one of the fastest ways to turn a digital design into a physical, testable component.
Quick answer — what you need to know:
QuestionAnswerWhat is it?CNC laser cuts 2D profiles from flat sheet material (metal, plastic, wood, etc.)How fast?Thin parts cut in seconds; prototypes often ready same dayHow accurate?Tolerances as tight as ±0.1 mm (±0.004 in.)No tooling needed?Correct — go straight from CAD file to cut partBest for?Brackets, panels, housings, gaskets, and complex flat geometriesCommon materialsSteel, aluminum, acrylic, MDF, polypropylene
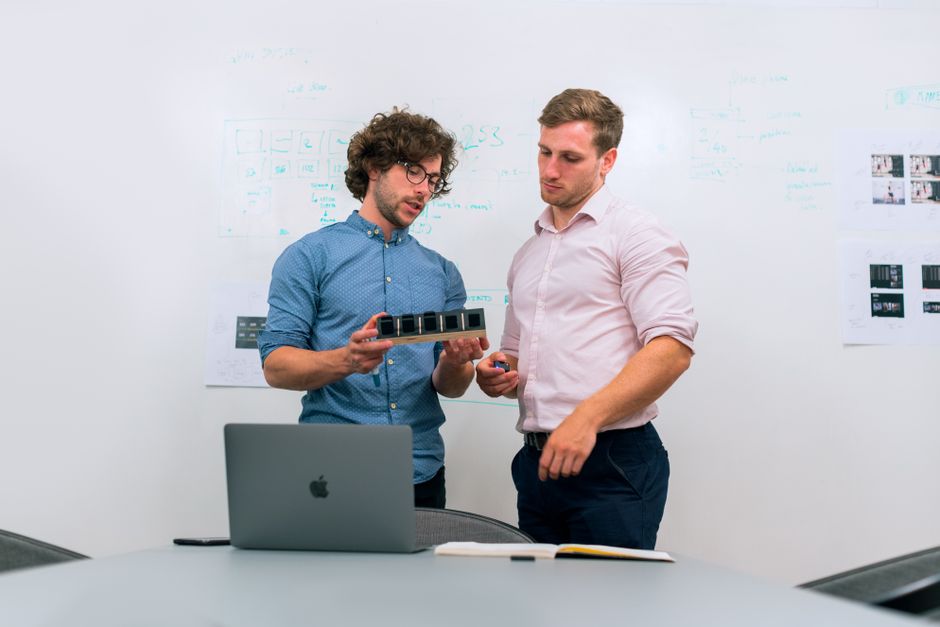
For engineers and product developers, the appeal is straightforward. There is no tooling to design, no molds to build, and no long setup delays. A CAD file goes in, and a precise physical part comes out — often within hours.
This speed makes laser cutting especially valuable during early design stages, when parts need to be tested, adjusted, and re-cut multiple times before a design is finalized.
I'm Yoshihiro Hidaka, founder of Hidaka USA, Inc., a sheet metal fabrication company I established in 1989 with a focus on supplying 2D laser cutting prototypes to the automotive industry. With over three decades of hands-on experience taking parts from prototype to mass production, I've seen how the right cutting process can make or break a product development timeline.

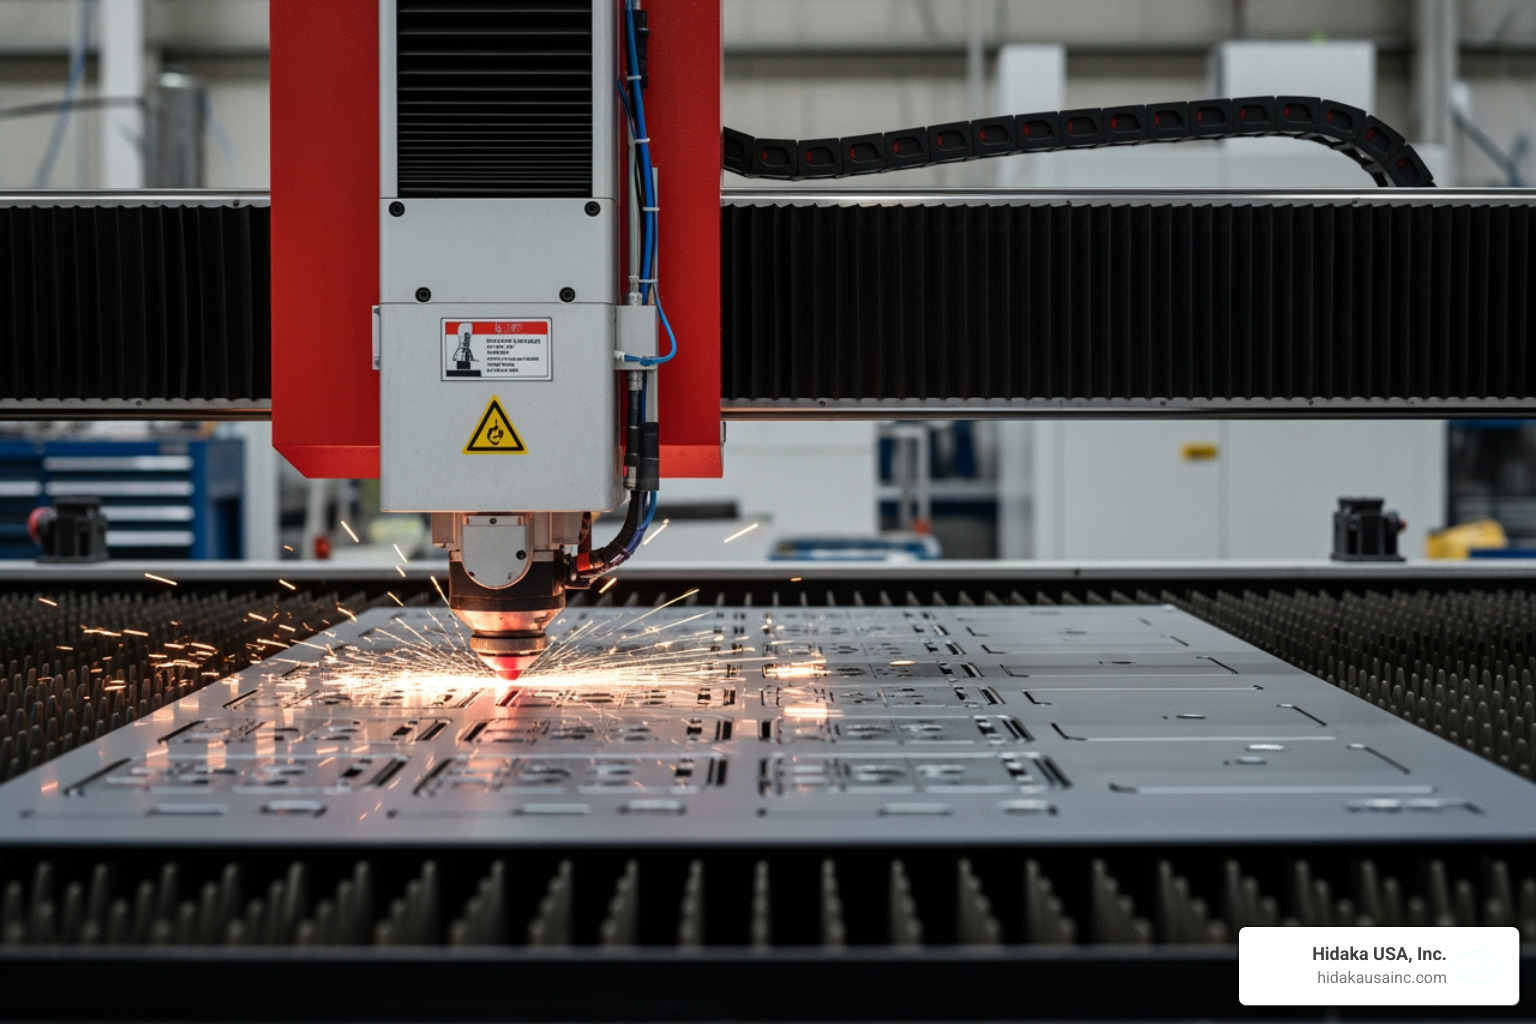
The Mechanics of 2D Laser Cutting Prototypes
At its heart, Laser Cut – Rapid Prototyping Lab technology is about focusing a massive amount of light energy onto a tiny spot. When we talk about 2D laser cutting prototypes, we are using Computer Numerical Control (CNC) to move that focused beam across a flat sheet of material. The energy is so concentrated that it melts, burns, or vaporizes the material away, leaving a clean, precise edge.
There are three main types of lasers we see in the industry:
- CO2 Lasers: These use an electrically stimulated gas mixture (mostly carbon dioxide). They are the "workhorses" of the industry because they are versatile, efficient, and great for non-metals like wood, acrylic, and certain plastics.
- Fiber Lasers: These are the new gold standard for metal. They use a "seed" laser that is amplified through special glass fibers. They are incredibly intense and much more energy-efficient than CO2 lasers when cutting thin to medium-thickness metals.
- Neodymium (Nd:YAG): These use solid crystals. While they have high intensity, they require more maintenance because the machine parts wear out faster under the high power.
Precision and Tolerances in 2D Laser Cutting Prototypes
One of the biggest reasons we love laser cutting for prototypes is the precision. We can achieve dimensional accuracy of ±0.1mm (0.004 inches) with high repeatability. This means if you need 50 brackets for a test fleet, the 50th bracket will fit exactly like the first one.
However, we have to account for "kerf." Kerf is the width of the material that the laser beam actually removes. Think of it like the thickness of a saw blade. Because the beam naturally diverges slightly as it moves through the material, the cut can have a very slight taper. For thin materials, this is negligible, but as you get into thicker plates, it’s something our engineering team at Hidaka USA, Inc. carefully calculates to ensure your part meets its specs.
Material-Specific Laser Selection
Choosing the right laser is all about beam absorption. Reflective metals like aluminum, brass, and copper can be tricky for older CO2 lasers because the light can bounce back and damage the optics. Fiber lasers handle these reflective metals beautifully.
For non-metals or carbon fiber composites, we often look at hybrid approaches. A CO2 laser might be used to vaporize a polymer matrix, while a fiber laser handles the actual carbon fibers. In some cases, we can even apply a "marking paste" to metals to help a CO2 laser absorb the energy better, though fiber lasers have largely made this unnecessary for modern metal prototyping.

Design and Preparation for Rapid Iteration
The beauty of 2D laser cutting prototypes is that the "setup" happens on a computer screen, not on a factory floor. To get started, you need a vector file. Unlike a standard photo (raster), a vector file tells the machine exactly where the path begins and ends using mathematical coordinates.
Common formats include:
- DXF: The industry standard for CAD data.
- SVG: Great for web-based design tools and simple geometries.
- AI/EPS: Common for designers using Adobe Illustrator.
When you are Submitting for Laser Cutting, we always recommend designing at a 1:1 scale in millimeters or inches to avoid any scaling "surprises" when the file hits the machine.
Optimizing Vector Files for 2D Laser Cutting Prototypes
To make the process "flat out fast," we use color coding in our files. This tells the laser software which lines are meant to be cut all the way through and which are just for engraving or marking.
- Red Cutlines: Usually set to a very thin line weight (like 0.01mm) to signify a full "vector cut."
- Blue/Black Lines: Used for "raster engraving" or shallow marking (like part numbers or logos).
We also look for "stray marks" or overlapping lines. If you accidentally draw two lines on top of each other, the laser will try to cut that spot twice, which wastes time and can melt the edge of your prototype.
Best Practices for Nesting and Waste Reduction
Nesting is the art of fitting as many parts as possible onto a single sheet of material. It’s like a high-stakes game of Tetris. Proper nesting:
- Reduces Material Waste: Which lowers your cost per part.
- Improves Efficiency: The laser spends less time moving between parts.
- Manages Heat: By spacing parts correctly, we prevent the sheet from warping due to excessive thermal energy in one spot.
At Hidaka USA, Inc., we use advanced software to automate this, ensuring we get the best yield out of every sheet of stainless steel or aluminum we put on the bed.
Material Selection and Safety Standards
Not every material is a friend to the laser. While we can cut a massive variety of metals and plastics, some materials are strictly prohibited due to safety risks.
Epilog Approved Materials usually include:
- Metals: Stainless steel, carbon steel, aluminum, brass, copper.
- Plastics: Acrylic (PMMA), Delrin (POM), Polypropylene (PP), PETG.
- Woods: MDF, Plywood, Hardwoods.
Prohibited Materials and Hazard Mitigation
Safety is our top priority in our Dublin, Ohio facility. We never cut materials like Polycarbonate (Lexan) or PVC. Why? Because when these materials are hit by a laser, they release chlorine gas or other toxic fumes that are deadly to breathe and can actually corrode the expensive machinery.
We also avoid materials with reflective foil backings or high-glue content that can catch fire. Every machine we operate has a dedicated ventilation and filtration system to ensure the air in our shop stays clean and our team stays safe.
Material Thickness and Cutting Limits
How thick can we go? While hobbyist machines might struggle with anything over 10mm, industrial-grade lasers can cut through several inches of steel.
- Thin Materials: Can be cut in seconds.
- Commercial Capacity: Many commercial fiber lasers can handle up to 1 inch (25.4mm) of steel with ease, while specialized high-power units can reach up to 4 inches.
- Gas Assist: We use "assist gases" like Oxygen or Nitrogen to help blow the molten material out of the cut. Nitrogen is great for a "bright" finish on stainless steel because it prevents oxidation.
Strategic Advantages and Scaling to Production
Why choose 2D laser cutting prototypes over 3D printing or CNC routing?
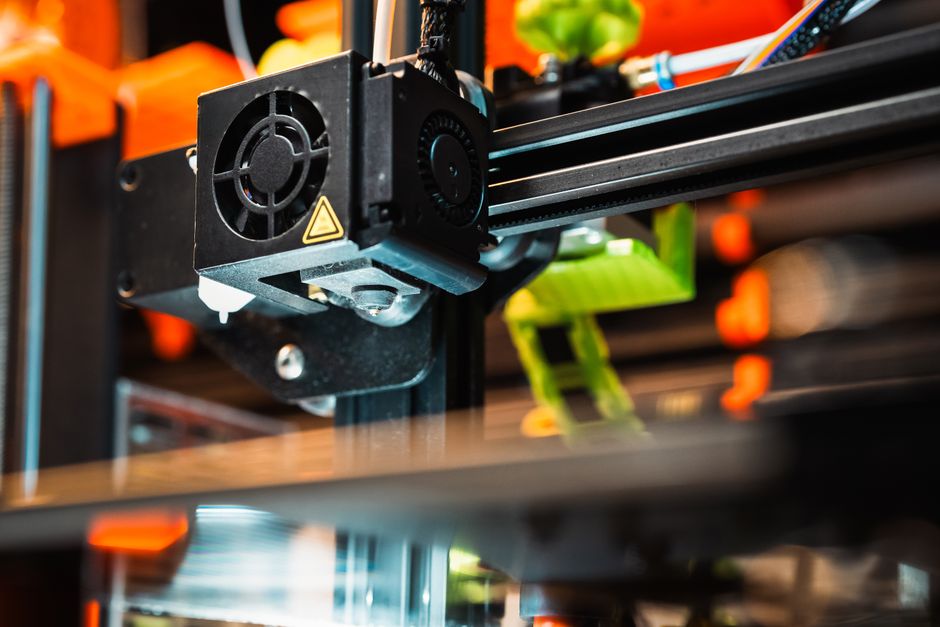
- Speed: You can have a metal part in your hand today. 3D printing in metal can take days.
- Material Reality: You are testing with the actual material you’ll use in production. A plastic 3D print won't tell you if your steel bracket will bend under load.
- No Tooling: This is the big one. Traditional stamping requires expensive dies that take weeks to make. With a laser, we just hit "print."
Post-Processing and Assembly Techniques
Once a part is cut, it might need a little extra love. We offer several post-processing options:
- Deburring: Removing the sharp edges so the part is safe to handle.
- Living Hinges: By cutting a series of very thin, parallel lines, we can make a rigid piece of wood or plastic bend like a hinge.
- Tab and Slot: We can design parts that snap together like a puzzle, allowing you to build complex 3D structures from flat 2D parts.
- Finishing: Powder coating, zinc plating, or silk screening can be added to give your prototype a production-ready look.
From Prototype to Mass Production
This is where Hidaka USA, Inc. really shines. Because we use the same CNC programming for the prototype that we might use for low-volume production, the transition is seamless. We don't have to start from scratch. We can scale your design from a single "one-off" prototype to a run of 10,000 parts using our 95,000-square-foot facility.
Our ISO 9001 certification ensures that the quality control we apply to our automotive mass production is the same rigor we apply to your very first prototype.
Frequently Asked Questions about 2D Laser Cutting Prototypes
What is the difference between CO2 and Fiber lasers for prototyping?
CO2 lasers use gas and are better for non-metals and thicker organic materials. Fiber lasers are solid-state, more energy-efficient, and much faster at cutting metals. If you are prototyping a steel car part, you want a fiber laser. If you are prototyping an acrylic display, CO2 is usually the way to go.
How do I account for laser kerf in my design?
The simplest way is to use an "offset." If the kerf is 0.2mm, you might offset your path by 0.1mm to ensure the final part is the exact size you intended. This is especially important for "press-fit" joints where two parts need to slide together perfectly.
What are the typical lead times for laser-cut prototypes?
At Hidaka USA, Inc., we pride ourselves on speed. Depending on the complexity and material availability, we can often turn around 2D laser cutting prototypes in 24 to 72 hours. For very simple parts, same-day fabrication is sometimes possible if the CAD files are ready to go.
Conclusion
Manufacturing excellence isn't just about having the biggest machines; it's about having the expertise to use them correctly. Whether you are in the automotive, mass-transit, or motorsports industry, getting your 2D laser cutting prototypes right the first time is essential for staying on schedule.
At Hidaka USA, Inc. in Dublin, Ohio, we combine decades of experience with the latest fiber laser technology to ensure your flat parts are "flat out fast." We handle everything from the initial design analysis to final quality control, ensuring your American-made products meet the highest standards.
Ready to see your design come to life? Visit our prototyping page to learn more about how we can help you bridge the gap from a digital sketch to a production-ready part.