How to Reduce Prototype Costs: 5 Methods that Guarantee Results


Reduce Prototype Costs Without Reducing Product Quality
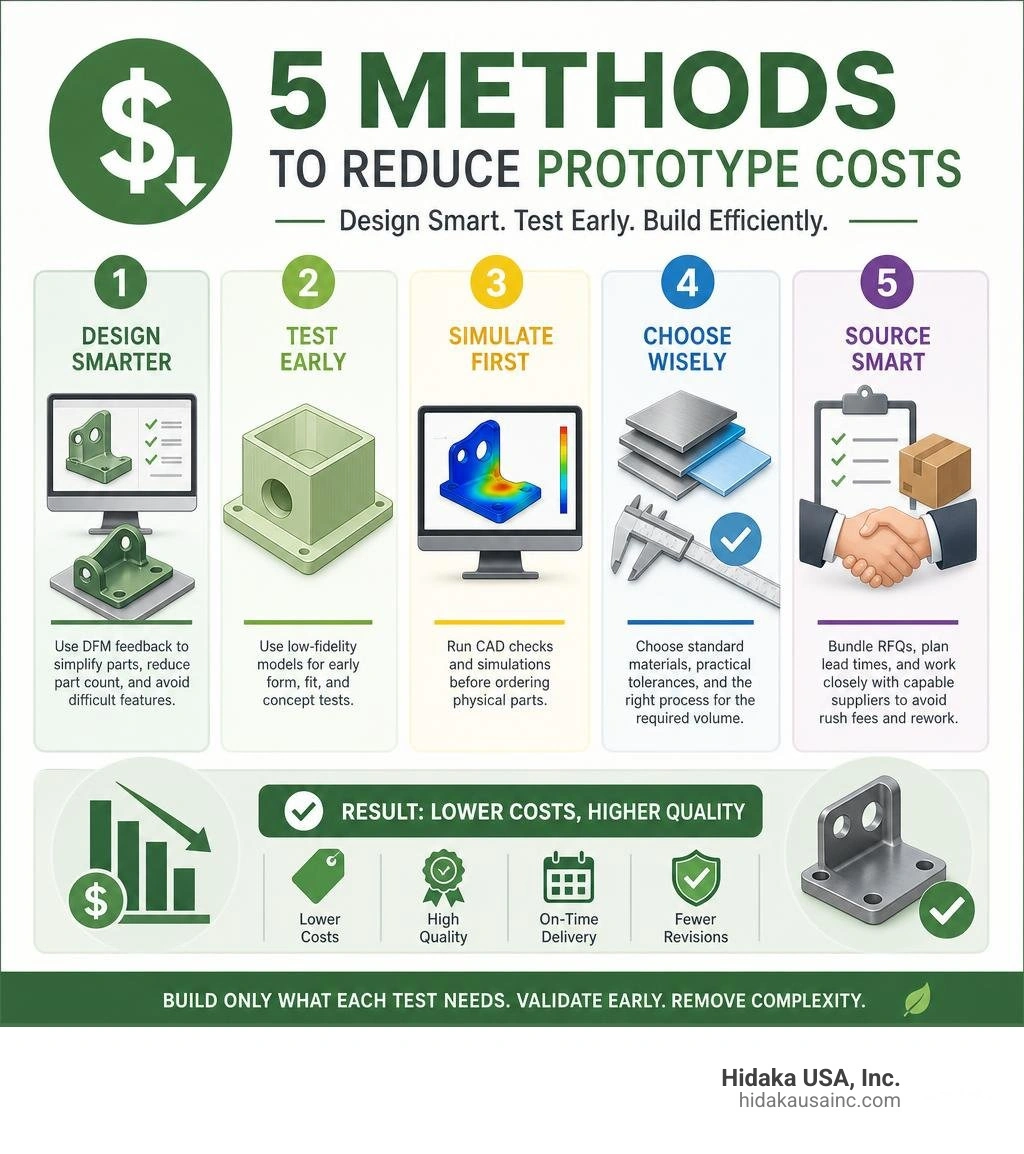
The most reliable way to reduce prototype costs is to build only what each test needs, validate designs before fabrication, and remove manufacturing complexity early. Start with these five actions:
- Use DFM feedback to simplify parts, reduce part count, and avoid difficult features.
- Use low-fidelity models for early form, fit, and concept tests.
- Run CAD checks and simulations before ordering physical parts.
- Choose standard materials, practical tolerances, and the right process for the required volume.
- Bundle RFQs, plan lead times, and work closely with capable suppliers to avoid rush fees and rework.
Prototype spending often rises because teams build production-grade parts before proving the design, change drawings after release, or specify tight tolerances that do not affect function. A clear test plan and staged prototype process help control these hidden costs while protecting quality, accuracy, and delivery schedules.
I am Yoshihiro Hidaka, founder of Hidaka USA, Inc., with decades of experience supporting automotive prototype and production programs in Japan and the United States. My work in sheet metal fabrication and production planning has shown how to reduce prototype costs through early engineering input, practical process selection, and a smooth path from prototype parts to mass production.
How to reduce prototype costs terms to know:
5 Core Methods on How to Reduce Prototype Costs
Prototyping often accounts for a major portion of early product development budgets. Uncontrolled design iterations, over-engineered features, and late-stage engineering changes quickly inflate costs. Fortunately, practical prototyping cost reduction strategies can protect both your schedule and your bottom line.
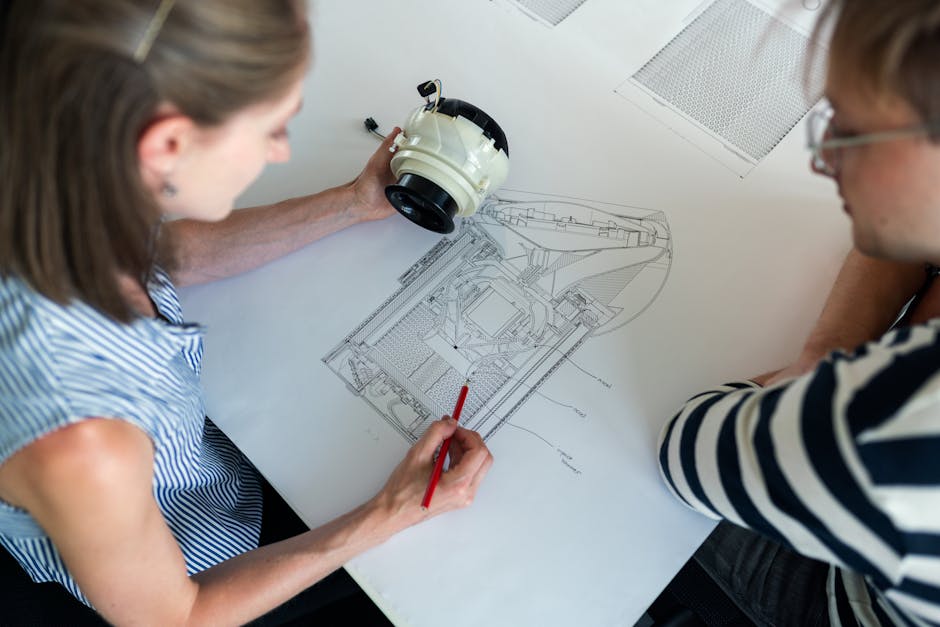
Early-stage design optimization is the foundation of cost management. Standardizing hardware, specifying off-the-shelf fasteners, and simplifying complex part geometry keep fabrication runs predictable and cost-effective.
Method 1: Design for Manufacturability (DFM) and Part Consolidation
Applying Design for Manufacturability (DFM) principles early prevents expensive redesigns. In physical hardware development, geometry directly dictates machining time, press tonnage, and tooling complexity.
- Maintain Consistent Geometry: Uniform wall thicknesses and generous internal radii prevent tool binding and reduce localized stress concentrations during forming.
- Eliminate Deep Cavities and Undercuts: Features requiring specialized tooling, multiple setups, or EDM sinking significantly increase production expenses. Designing open geometries that standard cutting and bending tools can reach lowers labor overhead.
- Consolidate Assemblies: Merging multiple sheet metal components into a single stamped or bent part lowers total part counts, eliminates extra fastener hardware, and reduces manual welding or assembly labor.
- Design Self-Mating Features: Symmetrical, interlocking components allow a single stamping die or bend setup to produce both halves of an enclosure, effectively cutting unique tooling requirements in half.
- Standardize Bend Radii: Keeping bend radii identical across all bends on a single sheet metal part eliminates tool changeovers during press brake forming, saving setup time and machine operator hours.

Method 2: Implement Multi-Fidelity Staged Prototyping
Not every prototype requires production-grade tooling. Dividing development into distinct stages prevents overspending on early exploratory concepts. By choosing the right rapid prototyping processes, you only pay for the fidelity required at each specific phase.
- Proof-of-Concept (PoC): Use low-cost desktop 3D prints, foam core, wood, or stock metal brackets to validate core mechanics and spatial packaging.
- "Looks-Like" vs. "Works-Like" Splits: Separate aesthetic industrial design shells from internal functional mechanisms. Testing ergonomics with basic additive parts saves expensive machining hours for structural components.
- Stage-Gate Evaluation: Define clear pass/fail criteria before building physical parts. Understanding how to evaluate prototypes prevents premature capital investment in hard tooling and guarantees that each prototype iteration answers a specific engineering question.
Digital Validation and Virtual Prototyping Levers
Catching design flaws digitally is far more economical than discovering them on the shop floor. Virtual modeling lets engineering teams evaluate thousands of geometry variations before cutting physical metal.

How to Reduce Prototype Costs with Virtual Simulation and Digital Twins
Virtual simulation tools provide deep insight into physical performance without raw material consumption:
- Finite Element Analysis (FEA): Identifies high-stress areas, structural deflection, and fatigue life under load, allowing engineers to thin non-structural regions safely and eliminate heavy, overdesigned sections.
- Computational Fluid Dynamics (CFD): Evaluates airflow, thermal hotspots, and pressure drops in electronic enclosures and ducting before physical sheet metal is formed.
- Thermal and Dynamic Modeling: Validates heat dissipation in enclosed electronics in hours, avoiding multi-day thermal chamber testing that can destroy expensive prototype boards.
- Digital Twin Modeling: Replicates full operational environments to predict mechanical wear and vibration resonance before committing to hard tooling.
Establishing digital continuity across CAD models and multi-physics analysis ensures your initial physical build matches engineering specifications, dramatically lowering scrap rates and avoiding repeated physical test builds.
Eliminating Destructive Testing Iterations Through CAD Analysis
Kinematic and tolerance stack-up simulations detect interference across moving assemblies before fabrication. Verifying clearance throughout the full range of motion avoids physical clashes, eliminates scrap, and reduces the number of physical testing rounds required to prove reliability. Digital clash detection ensures every component fits on the first physical build.
Strategic Material Selection and Process Matching
Material choice and manufacturing processes directly govern cycle times, setup overhead, and unit pricing.
How to Reduce Prototype Costs by Optimizing Tolerances and Standard Materials
Over-specifying tolerances is a common source of unnecessary machining expense. Machining a non-critical feature to ultra-tight limits increases cycle time, accelerates cutting tool wear, and demands extensive coordinate measuring machine (CMM) inspection.
- Relax Non-Critical Tolerances: Use standard commercial tolerances for clearance holes and external profiles, reserving tight tolerances strictly for critical mating faces, pin locations, and bearing journals.
- Standardize Sheet Metal Gauges: Selecting standard sheet gauges and standard alloys (like 5052 aluminum or mild cold-rolled steel) ensures materials remain readily available without mill minimum-order penalties or extended supply delays.
- Adopt Practical Surface Finishes: Specifying as-formed or as-machined surface callouts on non-cosmetic internal brackets saves secondary polishing, bead-blasting, and coating expenses. Specialized prototype sheet metal fabrication methods balance structural integrity with fast turnaround times.
Matching Low-Volume Methods: 3D Printing, CNC Machining, and Sheet Metal
Different manufacturing methods offer distinct economic break-even points based on part complexity and production volume:
- 3D Printing: Ideal for early concept validation, complex organic geometries, and low-stress fit checks where tooling is impractical.
- Prototype Machining: Best suited for tight-tolerance functional components, precision shafts, and structural blocks requiring end-use mechanical properties.
- Rapid Metal Prototyping: Essential for structural brackets, enclosures, and chassis assemblies. Combining 2D/3D laser cutting with hydraulic press forming replicates production-intent stamping properties without high tooling investments.
Procurement Optimization, Supplier Collaboration, and In-House vs Outsourcing
Smart procurement strategies lower prototype build expenses through supply chain efficiency and clear communication with fabrication partners.
Streamlining Sourcing with Bundled RFQs and Cosmetic Defect Waivers
Procurement teams can lower costs by optimizing purchasing mechanics:
- Multi-Process Bundling: Combine laser-cut sheet metal, CNC machined bosses, and welded structures into a single request for quote (RFQ) to maximize supplier setup efficiency.
- Tiered Delivery Schedules: Request quotes with tiered lead times (economy, standard, expedited). Expediting only critical components while shipping secondary brackets on standard timelines prevents rush surcharges.
- Cosmetic Defect Waivers: Establish clear acceptance bands for non-critical cosmetic blemishes. Waiving minor surface scratches on hidden internal brackets prevents unnecessary part scrapping and remanufacturing.
Evaluating In-House Desktop Capabilities vs Specialized Prototyping Partners
Desktop 3D printers and benchtop mills handle rapid conceptual testing effectively. However, structural validation for demanding industries requires dedicated production machinery, hydraulic forming presses, multi-axis lasers, and AWS-certified welding.
Working with an experienced manufacturing partner provides access to custom prototype engineering solutions and ISO 9001 quality controls, establishing a seamless path from low-volume prototypes to full mass production.
Frequently Asked Questions About Prototype Cost Optimization
What is the biggest hidden cost in hardware prototyping?
The biggest hidden cost is design revision churn after fabrication starts. Late CAD changes, expedited freight surcharges, and supplier communication friction create administrative overhead and waste raw materials.
When should teams choose rapid tooling over standard 3D printing or CNC machining?
Rapid tooling is economical when intermediate test quantities (50 to 1,000 units) require production-grade materials and uniform physical properties for regulatory, structural, or field testing before committing to hardened production dies.
How does loosening tolerances impact the final price of a prototype?
Relaxing non-critical dimensions reduces machining cycle times, cuts tool wear, simplifies fixturing, and decreases scrap rates. It also streamlines quality inspection by eliminating the need for specialized metrology checks on non-essential features.
Conclusion
Controlling prototype expenses requires disciplined engineering practices: simplifying designs through DFM, validating components via virtual simulation, matching materials to performance needs, and leveraging strategic procurement.
At Hidaka USA, Inc., we bring decades of metal forming expertise to automotive, mass-transit railcar, and industrial programs. From 2D/3D laser cutting and hydraulic press forming to AWS-certified welding and advanced engineering analysis, our facility in Dublin, Ohio delivers precision prototypes that transition smoothly into mass production. Contact our engineering team today to optimize your next prototype build.